

How to draw a floor plan online, step by step
In short: measure the outside walls first, draw them at true size, split the inside into rooms, then add doors, windows, stairs and furniture. Check the plan in 3D before you share it. In Layout Studio all of this happens in the browser, with nothing to install.
A floor plan is a drawing of a house seen from above, with the walls cut at about waist height so you can see the rooms, doors and windows. A good one is drawn at true size, so every room and every gap is the real measurement.
1. Measure before you draw
For an existing house, measure each outside wall and write the numbers on a rough sketch. Then measure each room inside, wall to wall. Note where each door and window starts and how wide it is. For a new house, start from the plot size and any setback rules your local authority sets.
Pick one unit and stay with it. Layout Studio works in feet and inches or in metric.
2. Draw the outside walls
Start with the outline of the house. In Layout Studio you draw walls at their real length and thickness, and the room sizes show as you go. Walls can be straight or curved.
If you already have a drawing, you can skip this step: photograph a hand sketch or a printed plan and Layout Studio reads it into rooms, or bring in a DWG, DXF or PDF at true size. See turning a hand sketch into a floor plan and bringing in a DWG.
3. Split the inside into rooms
Draw the inside walls and name each room: living room, kitchen, bedroom, bath. Named rooms matter later, because comments and approvals attach to the room they are about.
4. Add doors, windows, columns and stairs
Place each door and window on its wall at the measured position. Add columns where the structure needs them, and stairs if there is more than one floor. Each floor of the house is its own level in the same project.
5. Furnish the rooms
Furniture at true size is the quickest way to see whether a room works. A bed that leaves no space to walk round it is easy to miss on paper and obvious once it is drawn. Layout Studio has a furniture library, and on higher plans a piece can be made in 3D from one photo.
6. Check it in 3D
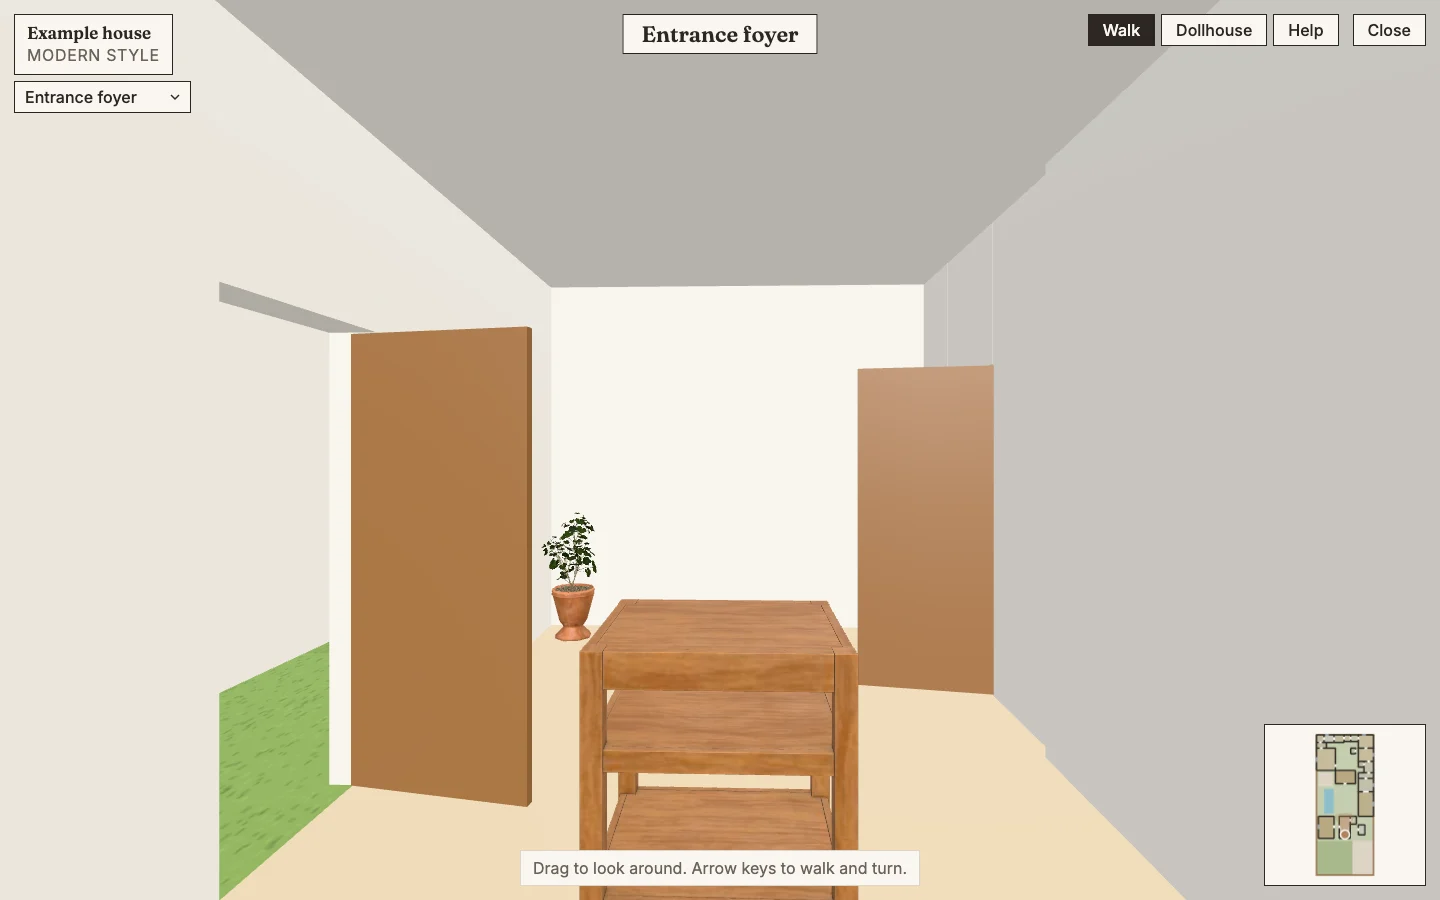
Press Make it 3D and walk through the house at eye level. Problems that a flat plan hides show up at once: a door that swings into a cupboard, a hallway that feels narrow, a window that faces the wrong way. Read more in turning a 2D floor plan into a 3D walk-through.
7. Try a second version
Most houses get better on the second or third try. Keep several design versions of the same house side by side instead of drawing over the first one.
8. Share it
Send one link. Your client, family or builder opens it in the browser with no account and walks the house themselves. See sharing a 3D house tour.
Common mistakes
- Drawing to look right instead of to size. Always type the measurement.
- Forgetting wall thickness. Inside room sizes are smaller than the outline suggests.
- Leaving rooms unnamed. Named rooms make feedback clear.
- Skipping furniture. Empty rooms always look big enough.